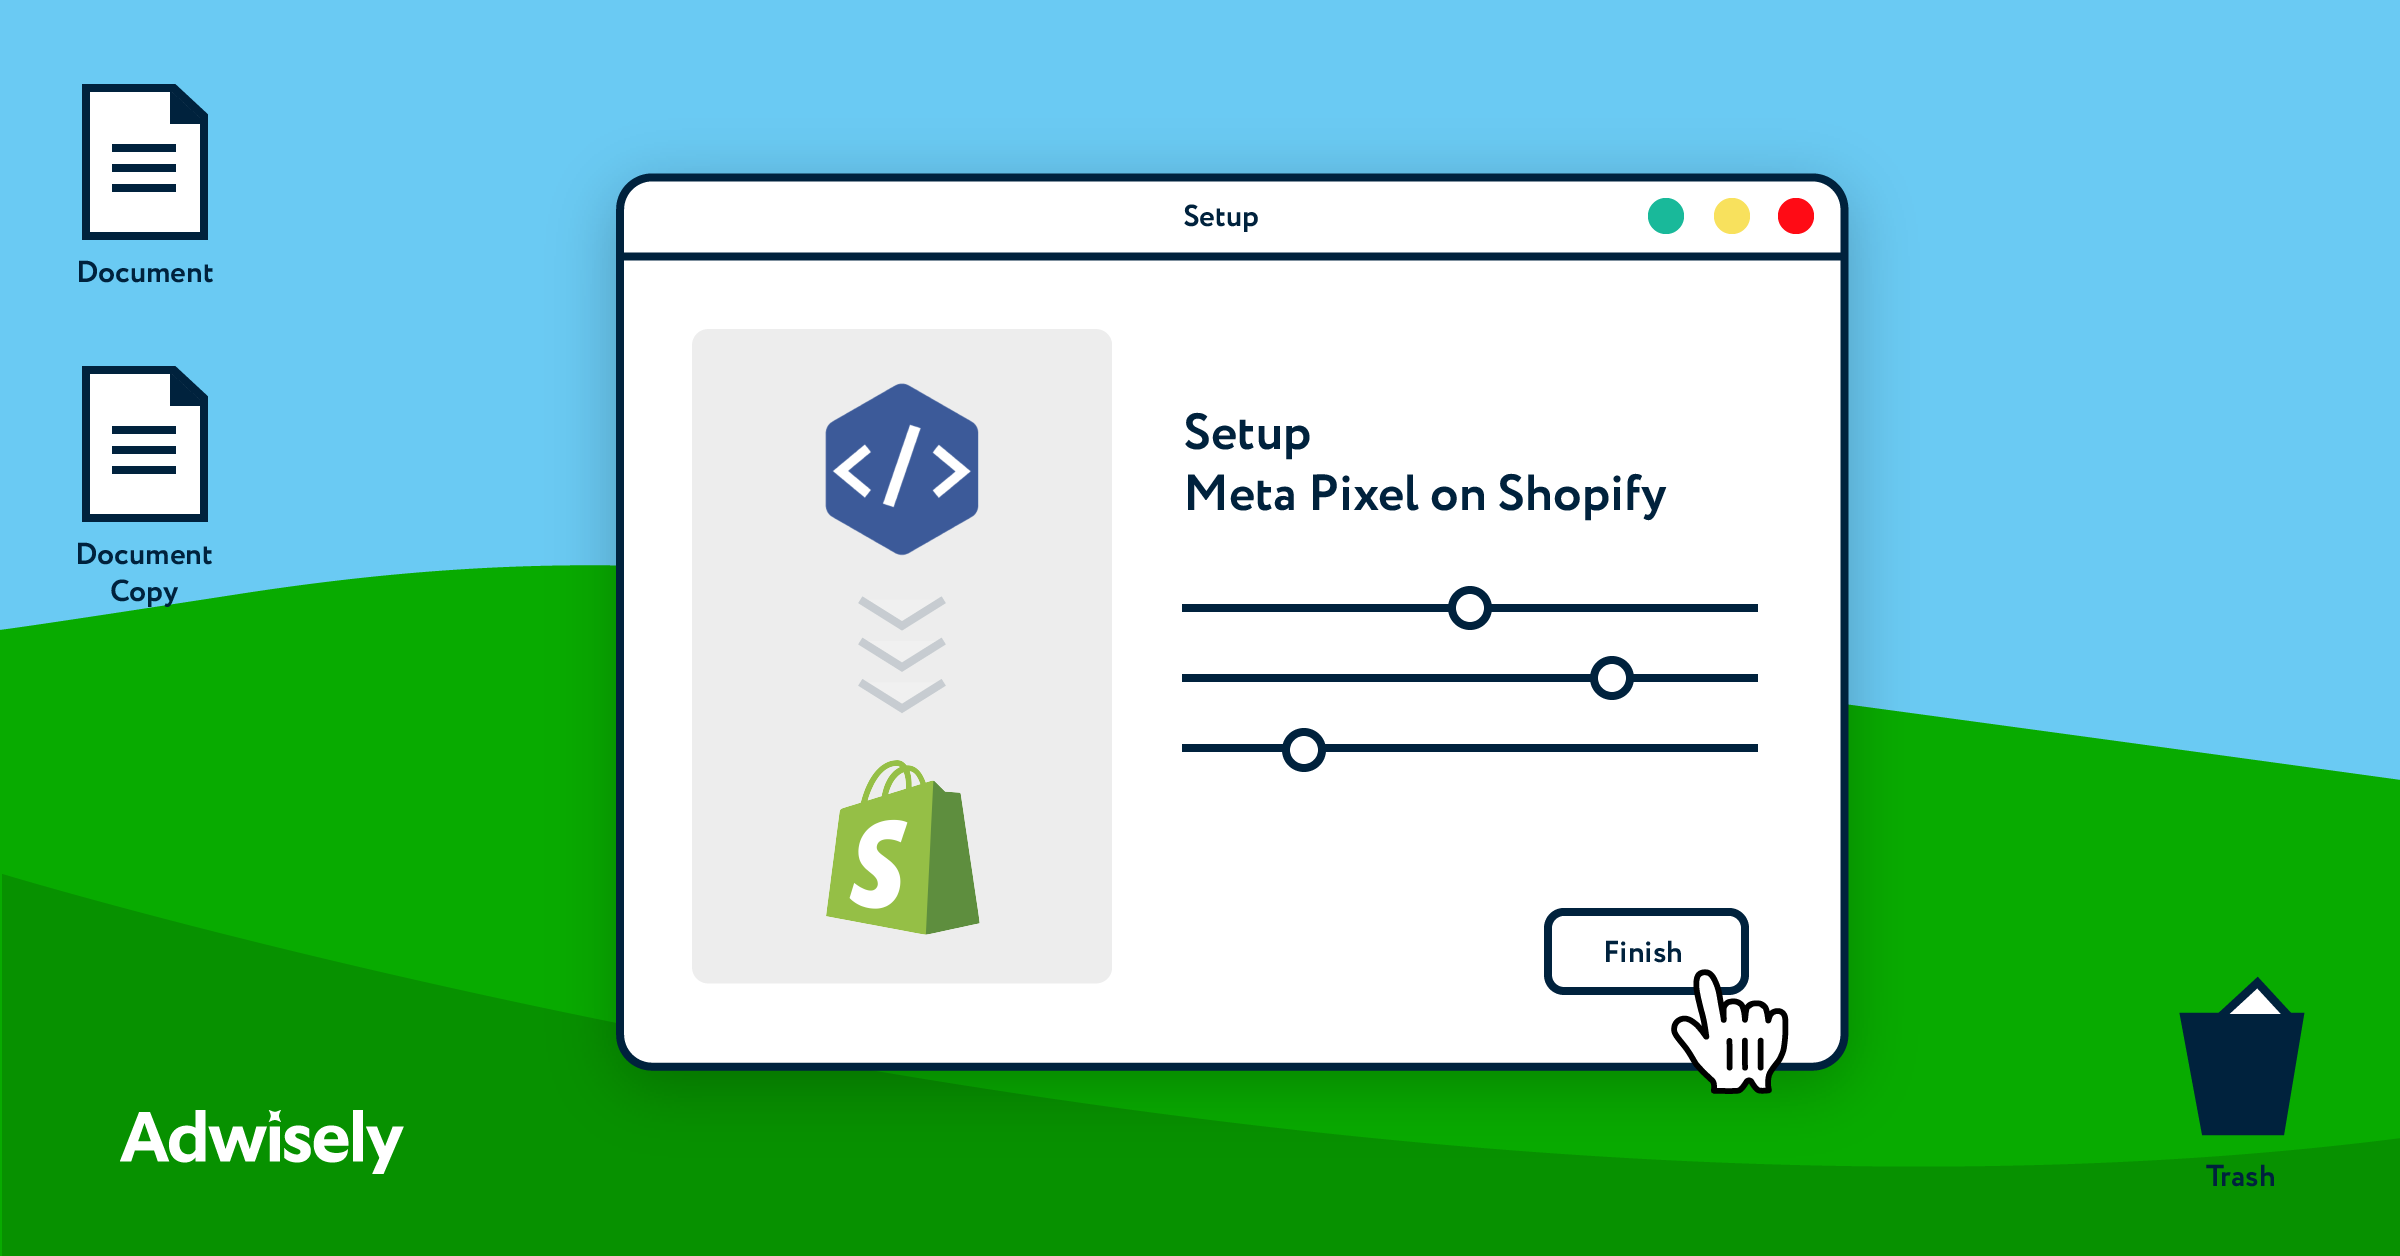
How to add Meta Pixel on Shopify: Step-by-step instruction
The information age we live in has changed the way we make decisions, both in personal life and in business. In the past century, people had to heavily rely on their gut feeling. Today, we have data.
Andrew Stephen, L’Oréal Professor of Marketing & Research Dean at Oxford Saïd Business School, said:
“It’s all the more important to rely on data and analytics because that gives us some truth about what’s actually happening and what might happen, as opposed to what we think.”
One of the greatest things about running an online business these days is that even small and medium-sized store owners can easily tap into data about their existing and/or potential customers. You just need the right tools — Meta Pixel is one of the most essential ones.
What is Meta Pixel?
So, let’s start by answering the first big question: what is a Retargeting Pixel?
Meta Pixel (previously known as Facebook Pixel) is a free analytical tool that is added to the site as a piece of code and helps Facebook track its users to see how they interact with the website content. The tracked interactions are called Events. They include:
- Purchase — a person has bought something from your online store
- Lead — a person signs up for a free trial, submit their email, etc.
- Complete registration — a person has completed your registration form;
- Add to cart — a person has added a product to the cart on your online store;
- Add to wishlist — a person adds a product to the wishlist
- Initiate checkout — a person has begun a checkout process.
- Custom events, and more (check the complete lists of the events Meta Pixel tracks here).
Why is it important to add Meta Pixel to a Shopify store?
Now that we have Meta Pixel explained, let’s take a look at why you need it on your Shopify store.
Once your store is connected to Facebook, you can kill two birds with one Pixel:
First, with Pixel you can run ads based on detailed insights. Also, these insights allow you to view your ad performance, know how effectively the ad budget is being spent, and find what needs adjusting in the ads settings.
For example, you have created a perfect Conversion ad campaign with some considerable ad budgets. What’s next? It would be naïve to simply hope for some conversions to happen. What would make much more sense is prioritizing Purchase and Add to cart as your main tracking, and viewing how many sales this ad campaign has driven. It will help you understand if you should keep running this ad, adjust it or maybe change the targeted audience. To have this information, you need a “Shopify pixel” — Meta Pixel on your Shopify store.
Second, you can keep in touch with online store visitors. As we at Adwisely keep insisting, you should never lose a website visitor. They are just too precious: they already know about your business, are interested in what you sell, and even might have picked a product to buy from you. It’s imperative that you keep reminding such people about your store and the items they have liked. In other words, you need to run Retargeting campaigns, which is only possible with Meta Pixel — that is why some people call it Facebook Retargeting Pixel. Fantastic, isn’t it? But that’s not all. With this tool, you can also create Lookalike audiences. These custom audiences are based on the data about the people that visited your store and helps you target new potential customers.
Adwisely isn’t just a blog—we’re a team of experts who can run efficient ads for your online store
Level up your ads
How does the Meta Pixel work?
As we’ve mentioned above, Meta Pixel is a snippet of code that is loaded — or fired — every time a person views the content on your landing page or website. To match your website visitors to Facebook/Instagram users, Pixel tracks:
- HTTP Headers: IP addresses, web browser information, page location, document, referrer, and person using the website.
- Pixel-specific Data: Pixel ID and the Facebook Cookie.
- Button Click Data: the buttons a visitor clicks, the labels of the buttons and the pages that a visitor opens by clicking the buttons.
- Optional Values: also, you can choose to track conversion value, page type, etc. by using Custom Data events.
- Form Field Names: email, address, quantity, etc., for when a purchase is being made.
How to add Meta Pixel to Shopify: Step-by-step instruction
Having looked at the working principle of the tool, let’s answer the big question: how to install Meta Pixel on a Shopify store. Yes, it’s time to get our hands a bit dirty by doing some setting up.
Step 1: Create a Facebook ad account
Before getting started with Pixel creation, make sure you are the admin of your Facebook Business Manager, a tool that helps manage ad accounts, Pages, people who have access to them in one place. In case you don’t have an account yet, follow these steps to create one: (if you do have an account, proceed to Step 2)
1. Go to Facebook Business Manager and click Create Account:
2. Enter your business details and click Submit:
Step 2: Create FB Pixel
Once you have your business account, do the following in your Business Manager to create a Meta Pixel:
1. Open Settings, then go to More Business Settings:
2. Choose your business in the dropdown menu above and click on Data Sources:
3. Choose Pixels:
4. Click on the Add button in the tab on the right:
5. Write in the name of the Pixel to avoid possible confusion in the future. Here you can also enter the URL of your website to verify your domain name. Domain verification is an important step that allows you to effectively integrate Pixel. Remember that you can use only one Pixel for each verified domain name.
When you’re ready, click Continue:
6. This is the last step of creating a Meta Pixel. Next, we need to add it to your Shopify store. So click on “Set up the Pixel Now” and meet us in the next paragraph:
Step 3: Add your Pixel ID to Shopify
1. To install Pixel onto a store on Shopify on Facebook, choose the first option in the menu:
2. Select Shopify among the Partner options:
Later you will be taken to your Shopify store. To add your Pixel to the store, you need to make sure your Shopify Account is connected to Facebook. Here are the instructions on how to connect Shopify to Facebook.
Once it’s done, go back to Facebook to continue with the setup. Tick the box next to I’ve completed the set up on Shopify, and click Next:
Step 4. Verify Meta Pixel Integration and check if it is working
Now you need to make sure your Pixel is connected to your store. For this, in the next window, enter your domain address to verify the Pixel is working correctly and click Send test traffic. If everything is set up correctly, your status will change to Active.
Later you will see a confirmation window. From there, you can Test Events in the Event Manager, Create a new ad or go to Facebook Analytics. We highly recommend going to Test Events in Events Manager, as you will have to select 8 standard events you want to optimize the ads for. This is an important step to target people on iOS 14 due to App Tracking Transparency (ATT) framework.
How to add multiple Meta Pixels to Shopify store
You don’t. Currently, the recommended Meta Pixel setup is one Pixel per one store domain verified on Facebook.
The 8 events prioritized for this Pixel should be more than enough for proper event tracking and ad setup.
If, however, you are managing multiple Shopify stores, you can keep and manage all the Pixels for these stores in one Facebook Business Manager.
How to change or remove Pixel from Shopify store
When you want to add a different Pixel to your Shopify store or maybe for some reason you decide to part ways with Facebook and remove Pixel tracking completely, you can do this in four simple steps;
- Go to your Shopify admin.
- At the menu on the right, click on Online store, then go to Preferences.
- In the window on the right, you will see a window. Find Meta Pixel, and click Change.
If you want to delete it, click Delete, then click Save.
Conclusion
Meta Pixel is a piece of code that Facebook uses to track people’s activity’s on web stores and landing pages to later offer them more personalized ads. It also helps store owners increase sales. Even though the process of adding a Pixel to a Shopify store may seem confusing and intimidating at first, by following the instructions mentioned above you should be able to set it up in about half an hour or so.
Adwisely clients receive all the support with setting their store up from setting up Pixel to importing a product catalog and running the first ad.
Learn more about running automated high-ROAS ads with Adwisely.
FAQ
Why can’t I connect my Facebook to Shopify?
The number of reasons can be pretty big from problems with your Facebook account to issues on the Shopify side. The best idea would be to ask directly at Shopify Help Center or Facebook Business Help Center.
How to test Meta Pixel in Shopify?
To test your Meta Pixel connected to a Shopify store, you’ll need to do the following:
- Go to your Business Manager and choose the needed Business Account in the top left corner.
- Go to Settings, then click More business settings.
- In the new tab, you will see Business Settings. Click on Data Sources and then select Pixels.
- Select the needed Pixel and click on Open in Events Manager in the top right corner.
- A new window will open. Go to the Test Events tab and follow the listed instructions to test Pixel events.
Why is my Meta Pixel red?
This may mean that your Pixel is not connected to a store. Go to the Step 4. Verify Meta Pixel Integration and check if it is working section of this article to see how to check if your pixel is connected properly.Also, make sure to go to your Events Manager → Diagnostics to see what an issue with your Pixel may be. Check this page by Facebook to see the potential problems and how to fix them.
Where is Meta Pixel on Shopify?
To find the connected Meta Pixel on Shopify, go to your Shopify Admin Page. Under the Sales Channels, choose Facebook. Then go to Settings, and click Data sharing settings. At the bottom of the page, you will find the connected Pixel.
Where is the Meta Pixel in Business Manager?
To find your Pixels in the Business Manager, go to:
Business Manager → Settings → Data Sources → Pixels.
Keep Reading
If you found this helpful, explore these related resources:


